Surfaces & Coatings-ANALYTICS IN THE AREA
Metallography
As a sub-division of materials testing, metallography provides measurable figures, data and facts about a component. We measure layer thicknesses, count micropores or microcracks, look at the microstructure and carry out adhesion tests such as grind - saw test, file tests and scribe- grid tests. Modern measurement technology is used to check whether the components fulfil the specifications and requirements of the relevant standards.
However, this is only part of our metallographic work. Thanks to our expertise in all areas of electroplating and surface technology, we also analyse cases of damage.

A properly applied coating is a basic prerequisite for components to be and remain technically functional or visually appealing. The following methods provide typical measurement data:
Coating thickness measurement
Micropores and microcracks
Step test
Adhesion tests
Coating thicknesses are a central point of all requirement profiles. Minimum coating thicknesses are necessary in order to fulfil technical, functional or optical requirements. This applies equally to metallic and organic coatings.
Coating thicknesses can be measured non-destructively or destructively. Non-destructive tests using the magnetic method or X-ray do not damage the surface. In the case of destructive tests, at least the coating is damaged at the measuring point, such as with the couloscope or calotte grinding. For coating thickness measurement in metallographic cross-sectioning, a segment is cut out of the component, prepared in the cross-section and then measured under a microscope.
Which method is used depends on the requirements and the type of coating and substrate.
Metallographic cross-section
Coulometric measurement
calotte grinding
X-ray
Magnetic process for non-magnetic coatings on magnetic base metals

Modern functional protective coatings combine high demands on corrosion protection and appearance. Multiple layers are deposited to dissipate corrosion into intermediate layers and thus protect both the substrate and the surface. For this protective mechanism, microscopically small interruptions (microcracks or micropores) are built into the top layer (the chrome layer), which are finely dispersed and drain the corrosion into the nickel layers below.
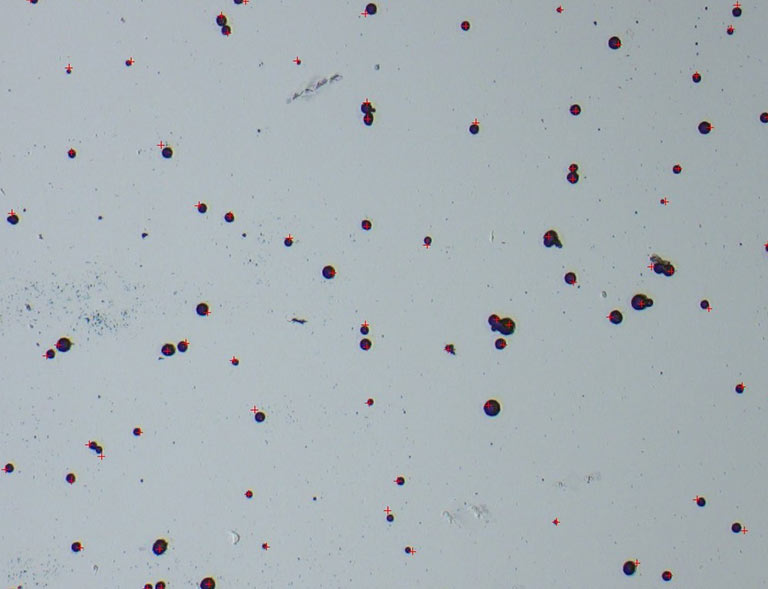
Pore count using the Fuhrmann test
Pore count using the Dubpernell test
Microcracks
Macro cracks in the hard chrome layer

Functional protective coatings are complex multi-layer systems which, if they are well harmonised and deposited to a high quality, provide perfect corrosion protection for the substrate and surface. In addition to the micro-discontinuities, the nickel layers are decisive. The potential difference between the three nickel layers must be correct in order for the corrosion to dissipate into the intermediate layer.
This potential difference between nickel layers 1 and 2 and between 2 and 3 is measured using the coulometer and the so-called STEP test.

The coating process of components is always a complex process, regardless of whether metallic or organic layers are applied. The substrate must be pre-treated and the coating process must be strictly controlled and harmonised. If there is a problem at any point, this usually results in problems with the adhesion of the coating to the substrate or between the individual layers. Problems with adhesion lead to lifting or peeling of the coating and thus to limitations in corrosion resistance and visual impairments.
Typical tests in the area of adhesion tests are mechanical destructive tests:
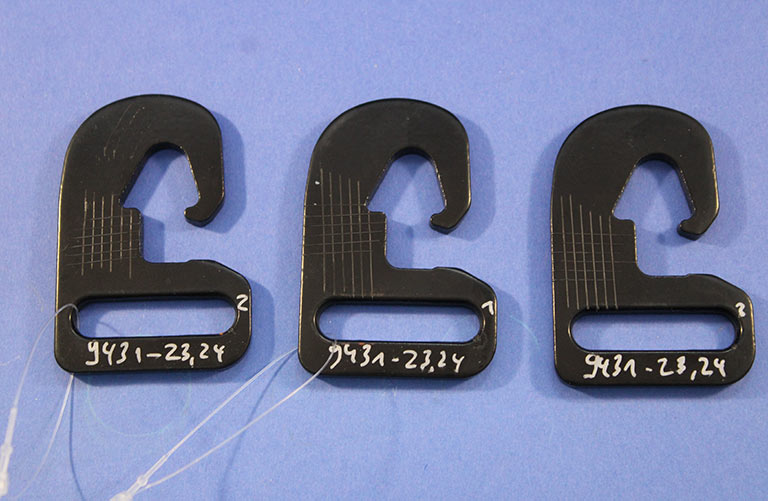
scribe- grid test
cross hatch test (Diamond cut)
grind- saw test
File test
Scratch test
Scratch resistance

For enquiries about these analyses, please contact our laboratory team at anfrage@industrial-lab.de or get in touch with your contact person:

Materials tester metallography / Quality Manager
0212 2214 - 76
Send e-mail

phys. Technical Assistant Metallography
0212 2214 - 75
Send e-mail

Head of Laboratory
0212 22147 - 0
Send e-mail
DIN EN ISO 2409 describes the adhesion test on coated components using the cross-cut method. The cross-cut test is a general test method for coating materials and coatings. Using a multi-cutting device or a single-cutting device (cutter or scalpel), a grid with even parallel lines is cut horizontally and vertically through the coating. The distance between the parallel lines is 1 mm, 2 mm or 33 mm, depending on the thickness of the coating. If the coating flakes or flakes off, the adhesive strength of the coating is not or not sufficiently given. After the actual grid cut, a standardized adhesive tape with a defined pull-off force is applied to the grid, pressed on and pulled off with a jerk. Here too, the coating must not lift off or stick to the adhesive tape.
ASTM D3359 presents various methods for testing the adhesion of coatings by means of a tape pull-off test. In the tape pull-off test, a standardized adhesive tape with a defined pull-off thickness is applied to the coating, pressed on and then pulled off with a jerk. The coating must not tear, lift or flake off. The adhesive tape pull-off test is carried out on weld seams or soldered joints to test the adhesive strength of coatings in heat-affected zones. The adhesive tape test is also used for cross-cut or cross-cut tests.
The method used for the adhesion test depends on the substrate and the type of coating. A basic distinction is made between metallic substrates and plastic substrates, as well as between metallic coatings and organic coatings, i.e. paints. The size and thickness of the component to be tested are also taken into account when selecting the best test method. Adhesion tests can be carried out mechanically or thermally. Coatings are usually tested with a cross-cut or cross-cut with adhesive tape tear-off. For metallic coatings, bending tests (for thin components) or sawing and filing tests are often carried out. Thermal adhesion tests in the thermal cycling or thermal shock test are also common for metallic coatings.